
ECM Phoenix L: diagnostics, repair and testing on engine ECU
Engine ECU Phoenix L malfunctioning? Diagnostics, repair by cloning, cloning and bench testing. Retain original pairing. Request your quote.
Please note: at Incarline, “repairing” a control unit means cloning. We transfer your original data — coding, immobiliser pairing and adaptations — onto a healthy unit with an identical reference. We do not carry out component-level repairs on your original unit.
Is your Phoenix L engine ECU (examples: ECM Phoenix L3, L4, L6, L14, L15, L16) experiencing malfunctions? On this type of ECM, an electronic fault can cause random starting, limp mode activation, power loss, or unstable communication with the OBD tool. In the workshop, we address typical Phoenix L faults with a rigorous electronic approach: board inspection, memory reading (EEPROM/flash), replacement of faulty components (injector drivers, shunt resistors, capacitors, power circuits), followed by bench testing. The goal is to restore the original logic and retain the ECU's pairing with the vehicle to avoid any immobilizer relearning. Whether you are a garage, mechanic, or individual, this page guides you to identify the correct Phoenix L reference and understand the technical process of a repair by cloning suitable for this ECM family.
Find your exact reference
Search by hardware reference, software reference or control unit name. Click a result to configure and order without leaving the page.
Identify your exact reference
Phoenix L ECMs exist under several references (e.g., Phoenix L3, L4, L6, L14, L15, L16). To send the correct unit and receive a relevant diagnosis, it is essential to indicate the designation as printed on the ECU's label. Follow these simple steps before consulting us:
- Turn off the ignition and disconnect the battery, then carefully remove the Phoenix L engine ECU from its mount.
- Locate the identification label on the ECU (top face or side), where the mention "Phoenix L" followed by the sub-reference (e.g., L14) is displayed.
- Record all useful inscriptions (complete reference, possible internal number, barcode) and take a clear photo of the label and connectors.
- Note the vehicle's VIN and the observed symptoms (engine light, difficult starting, cut-offs). This information helps direct EEPROM/flash reading and bench testing.
The options available to you
Paired used unit
Depending on availability, a used Phoenix L unit can be provided and paired to match your vehicle's electronic identity.
Repair by cloning
Your original Phoenix L is diagnosed and then repaired in the workshop (components replaced, memories preserved) to retain the existing pairing.
Remapping
If necessary, a remapping adapted to the Phoenix L is performed after hardware intervention to restore calibrations.
What to expect technically
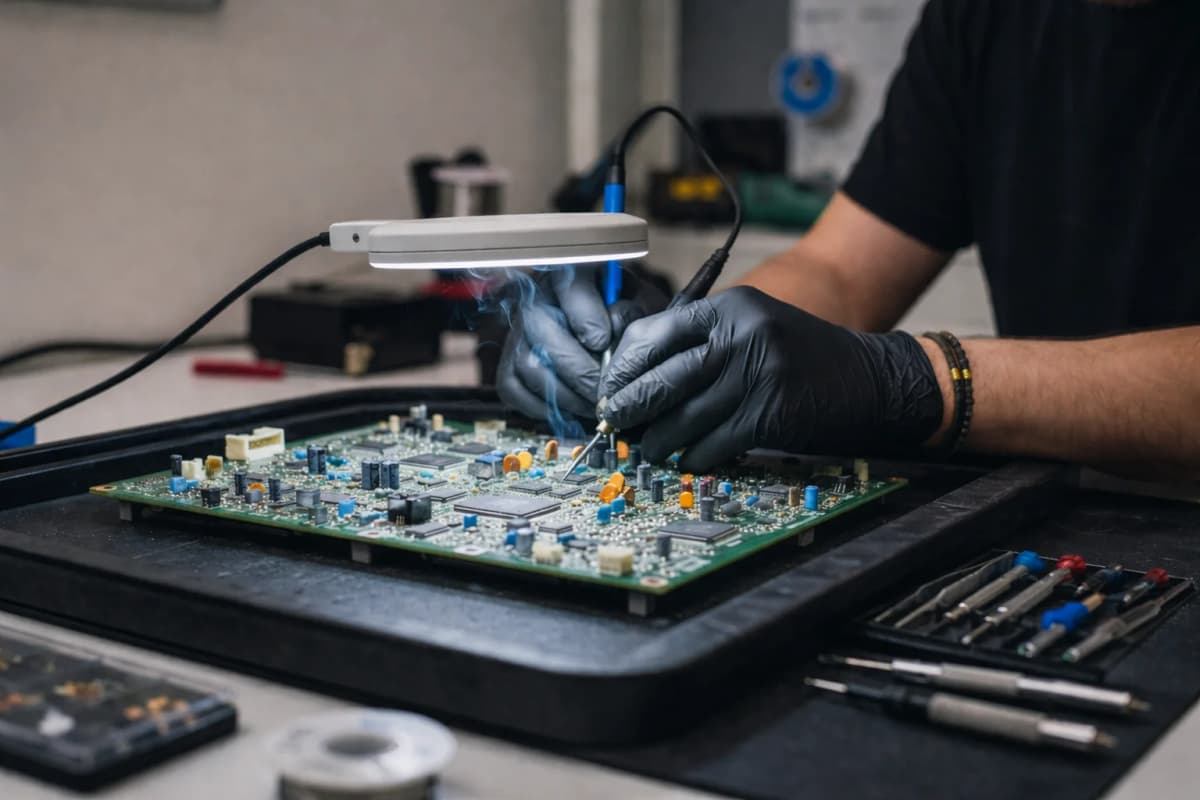
When a Phoenix L ECM arrives at the workshop, the first step is recording the exact reference and symptoms. We then proceed to a visual inspection under a magnifying glass: condition of the casing, signs of oxidation, solder cracks, localized heating near injector drivers or the power stage. A basic check of connectors and the flatness of the cover (deformations related to previous openings) allows anticipating possible sealing repairs.
The electronic analysis phase begins with reading the non-volatile memories. For received Phoenix L units, we generally extract the content of the serial EEPROM (8-pin SPI type) to back up the identifier, immobilization data, and various parameters. Depending on the version, the main flash may be internal to the 32-bit microcontroller or associated with an external memory (NOR) — these contents are backed up before any intervention to secure pairing and enable cloning if the support needs replacement.
The diagnosis continues with measuring power supplies (regulators, 5 V sensor reference), checking current measurement shunt resistors, and examining power semiconductors (transistors/IC injector and ignition drivers). Aging capacitors or corrupted memory can also cause intermittent symptoms, a recurring engine light, or unstable communication on the CAN bus. The test bench simulates sensor inputs and loads outputs to observe the Phoenix L's behavior outside the vehicle and confirm the leads identified during non-specific DTC reading.
When components are identified as faulty, controlled desoldering (hot air/infrared depending on areas), identical or qualified equivalent replacement, and resoldering are performed. On Phoenix L units with a BGA package microcontroller, reconditioning may require BGA reflow or reballing under controlled thermal profile to restore internal connections. Critical solder joints are inspected (X-ray or binocular magnifier as appropriate), and weakened traces are reinforced if necessary.
After repair, the Phoenix L ECU is powered on the bench for a sequence of repeatable tests: CAN communication, power supply stability, response to commands, simulated cold/hot cycles, and checking for the absence of recurring faults. If the memory has been altered, a reprogramming is performed from the backups made beforehand to restore calibrations and the original identifier. Since it is your repaired Phoenix L unit, pairing with the immobilizer and the original VIN is retained, avoiding immobilizer relearning upon reinstallation.
Regarding logistics, the timeframe is communicated after the initial diagnosis, depending on the extent of repairs and component availability. The warranty applies according to the workshop conditions in force for this type of intervention on Phoenix L. Upon receipt, you simply reinstall the ECU, clear any stored faults if necessary, and perform a road test to validate the service restoration.
Frequently asked questions
How do I know if my Phoenix L ECU is faulty?
Which vehicles are equipped with the Phoenix L ECU?
Can a Phoenix L be cloned without going to the dealership?
What is the difference between a repair and a paired used unit for a Phoenix L?
Does the Phoenix L require immobilizer learning after cloning?
Which memories does the workshop usually read on a Phoenix L?
What symptoms indicate a driver issue on a Phoenix L?
Can the CAN communication of a Phoenix L degrade and how to test it?
Your reference isn’t listed?
Contact us — we can source your control unit or handle your repair on a quote basis.
Contact us